
About 7,800 kids under 18 end up in a U.S. emergency room each year after a TV, a piece of furniture or an appliance tips over on them. That’s the yearly average for 2020 to 2022 in the most recent tip-over report I found from the U.S. Consumer Product Safety Commission (CPSC), published in February 2024. Spread over a calendar, it comes to about 21 kids a day. Kids make up 22 percent of the population, yet they account for 44 percent of the tip-over injuries in that report.
Most of the tip-over deaths in the same report happened at home, a lot of them in bedrooms. So think about your toddler’s room for a second. There’s the dresser you put together before they were born, diapers still in the top drawer. There’s the low shelf of board books by the window. And there’s your toddler, who figured out this month that almost anything with a handle can be climbed.
If you’re in the thick of the climbing stage, you’ve probably watched them get from the rug to the second drawer faster than you could say their name. Maybe your next thought is, “Sure, but I’m always right there.” If that sounds like your house, you’re in good company. One mom you’ll meet further down thought the same thing, and she was standing right next to her son when it happened.
Furniture anchors are the fix the CPSC and pediatricians keep pointing to, and they’re one of the least glamorous, most worthwhile jobs on any babyproofing list for a Montessori home. Below, I’ll walk through which pieces to anchor first, which kit suits your wall, how to install it the way the CPSC’s Anchor It! guide describes, and what to do if you rent or own IKEA furniture.
What are furniture anchors, and why does a low shelf need one?
Furniture anchors are small kits, usually a strap or a metal bracket plus screws, that tie a piece of furniture or a TV to the wall. Low shelves need them too, because a toddler who pulls up or climbs can still bring one down.
One end of the kit attaches to the back or top of the furniture. The other end screws into the wall, ideally into a stud, one of the wood boards inside the wall that the drywall is fastened to. When your toddler hangs on an open drawer or hauls themselves up by a shelf, the anchor keeps the top of the piece tied to the wall.
The CPSC’s Anchor It! campaign keeps the rule simple: anchor all furniture with drawers, doors or shelves. That last word matters a lot in a Montessori home.
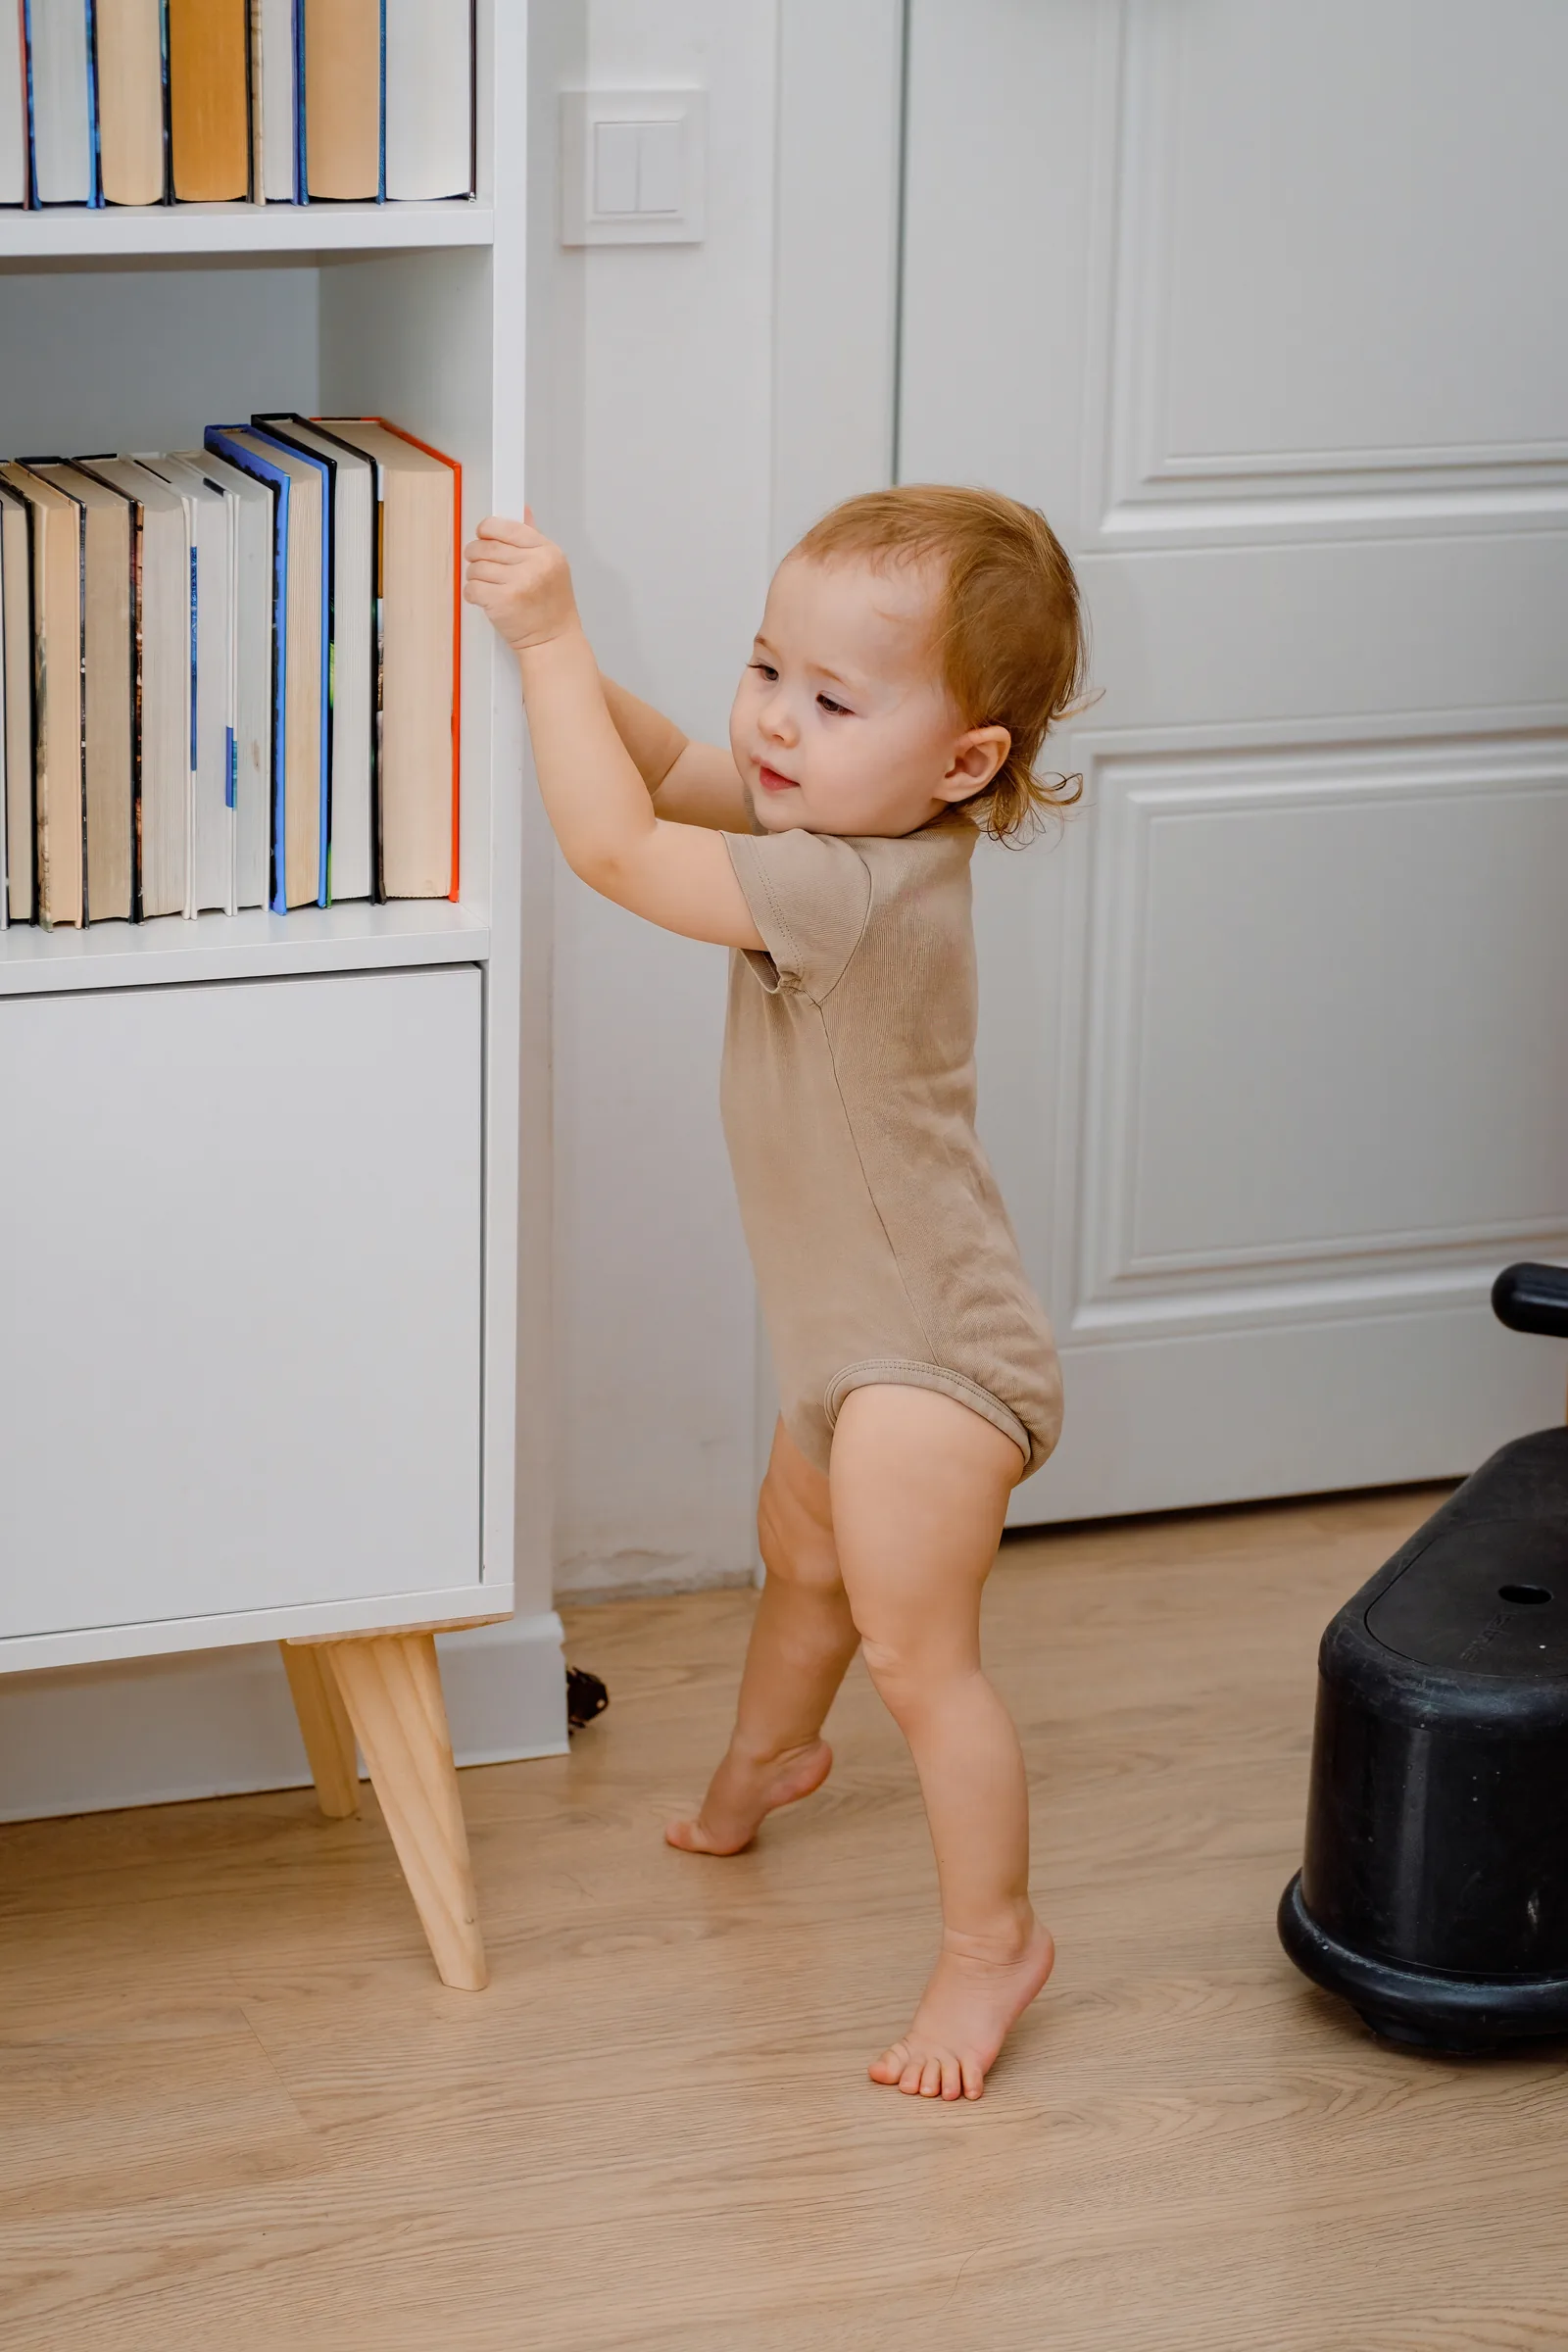
A low, open Montessori shelf is built for reaching into. Your toddler kneels in front of it, grabs the edge to stand, and leans in for the puzzle tucked at the back. Short furniture feels safe because it’s short, and yet it’s the piece they handle most. Of the roughly 6,400 furniture tip-over injuries to kids treated in emergency rooms each year in the CPSC report, 28% involved a chest, bureau or dresser, and 16% involved shelving or a bookcase.
 Save
The stakes go well past bumps and bruises. Of the tip-over deaths the report counted from 2013 to mid-2023, 71% were children under 18.
The hardest part to believe is how fast it happens, even with grown-ups in the room. One mom on The Bump had skipped babyproofing her own bedroom because her son was never in there unsupervised, and she and her husband were standing right next to him when he pulled the dresser down on top of himself.
“But it happened SO fast.”
A parent on The BumpWhat Baby Proofing Is Necessary? (2014)
Her advice afterward was to strap every large piece of furniture to the wall.
The American Academy of Pediatrics (AAP) lands in the same place on its tip-over prevention page, last updated in 2021. You can’t always stop a young child from climbing, it says, but you can stabilize the furniture that could hurt them. As of that 2021 page, the AAP put anti-tip devices at $5 to $25 and said they take just minutes to install.
You can’t watch every second. A screw in a stud keeps working while you look away.
Furniture tip over prevention: what to anchor first
Start in your child’s bedroom with the dresser, then move to every bookcase and low shelf they can reach, then the TV. Mirrors and anything else tall or top-heavy come after that.
Every piece with drawers, doors or shelves should get anchored eventually, per the CPSC. You don’t have to do them all this weekend, though. This is the order I’d go in, with the reason for each piece.
| Piece | Why it tips | What to do |
|---|---|---|
| Dresser or chest of drawers | Open drawers turn into steps, and a heavy top drawer puts weight up high | Anchor it into a stud. Heaviest clothes go in the bottom drawers, and drawer stops keep drawers from coming all the way out |
| Bookcase or low toy shelf | It’s the piece your toddler reaches into, leans on and pulls up on all day | Anchor it, however short it is. Keep toys and remotes off the top so nothing up high invites a climb |
| TV | Heavy, and remotes or toys nearby tempt kids to reach and climb | Never set it on a dresser. Mount it or anchor it, flat-screens included |
| Mirror | Tall and easy to grab | Secure it with an anti-tip device, the same as furniture |
| Learning tower | Built to be climbed, and it stands on its own | It has its own checklist in our learning tower guide |
When my husband and I set up Will’s yes space, every dresser and shelf in it got drilled into the wall, including the low two-tier shelf in our living room.
 Save
Once a piece is anchored, how you load it still matters. The AAP suggests the heaviest things in the lowest drawers and shelves and lighter ones up top, plus drawer stops or safety straps so your child can’t pull a drawer all the way out. It also says to keep toys, electronics and remotes off high places, wherever they are in the house, because they tempt kids to climb. And the AAP’s list includes mirrors: secure those with anti-tip devices too.
Which furniture anchor kit fits your wall?
Your wall decides the kit. Over wood studs, a metal bracket or strap kit screws straight into a stud; on brick you’ll need masonry bits and screws, or a contractor; anywhere else, follow your kit’s instructions for that wall type.
This is the part where a lot of parents stall. You’re in the hardware aisle with two kits in your hand, and you have no idea what’s behind your drywall.
At Moje Montessori, we follow the CPSC’s Anchor It! installation guide and the AAP’s tip-over page, and the table below sorts what they say by wall type.
| Wall | What the CPSC and AAP say | What to do |
|---|---|---|
| Drywall over wood studs | CPSC: find the stud nearest the furniture with a stud finder; in modern homes, studs are 16 or 24 inches apart. AAP: put the wall anchors in a stud, even if that means moving the furniture | Use a metal bracket or strap kit and screw it into the stud. The heavier the piece, the more anchors |
| Drywall with no stud where you need one, or metal studs | CPSC says you can anchor to any kind of wall, but its how-to doesn’t cover drywall without a stud or metal studs | Shift the piece so it lines up with a stud if you can. If you can’t, follow your kit’s instructions for that wall type to the letter |
| Brick or masonry | CPSC: brick is harder to work with, and you might call a contractor or your building’s superintendent. You need a masonry bit and masonry screws, and you drill into the face of the brick, away from the mortar | Get the right bit and screws first, or hire the job out |
Whatever your wall, the AAP has a preference about the hardware itself: metal anchors, such as L brackets, because plastic can become brittle over time and break. It also warns that counterfeit anchors have been turning up on some online sites, and suggests sticking with known brand names even if they cost a little more.
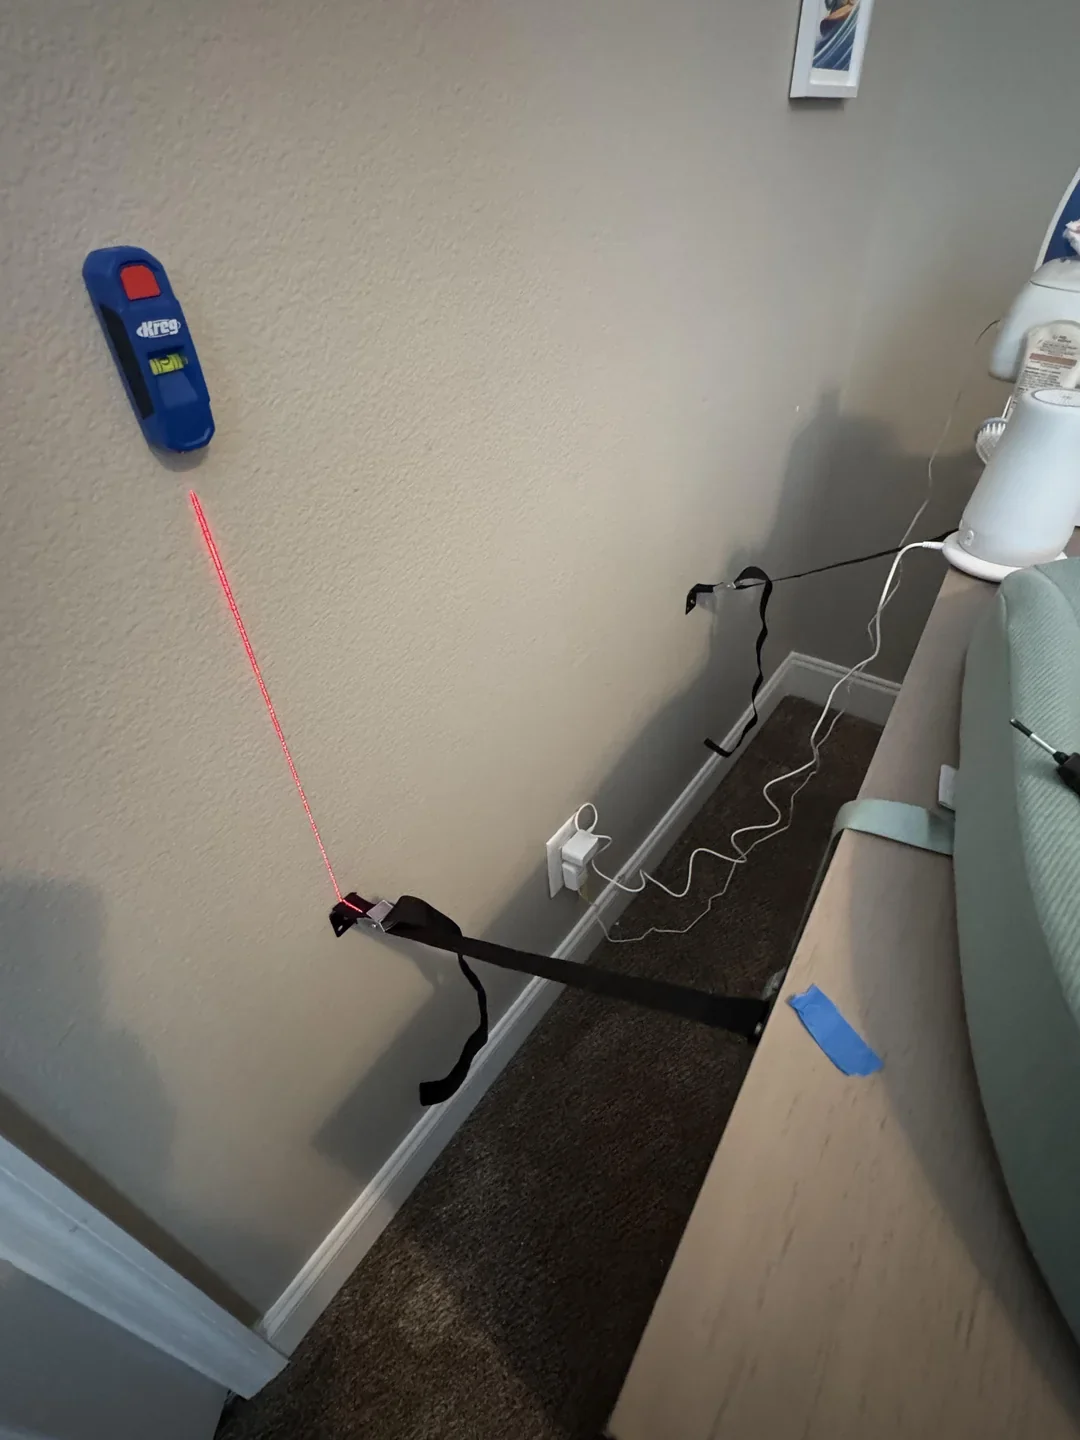
For some of our furniture, we bought heavy-duty metal anti-tip brackets instead of using the straps from the box. Our Colorado walls are drywall over wood studs, so my husband ran an electronic stud finder over the wall to find the center of a stud before he drilled anything. If you buy one tool for this job, make it the stud finder.
Miri’s Tip
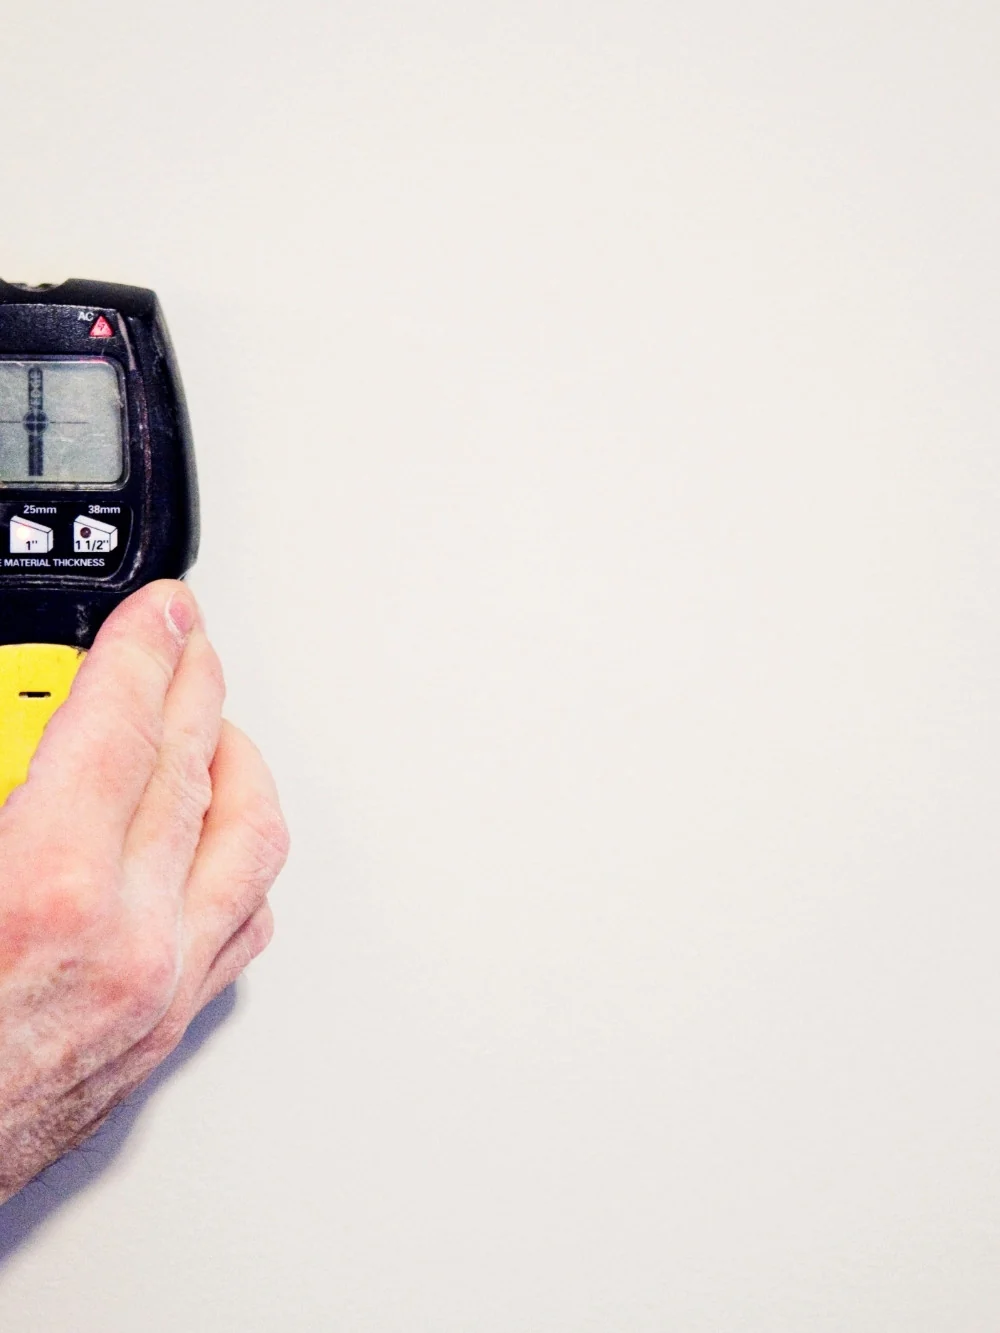
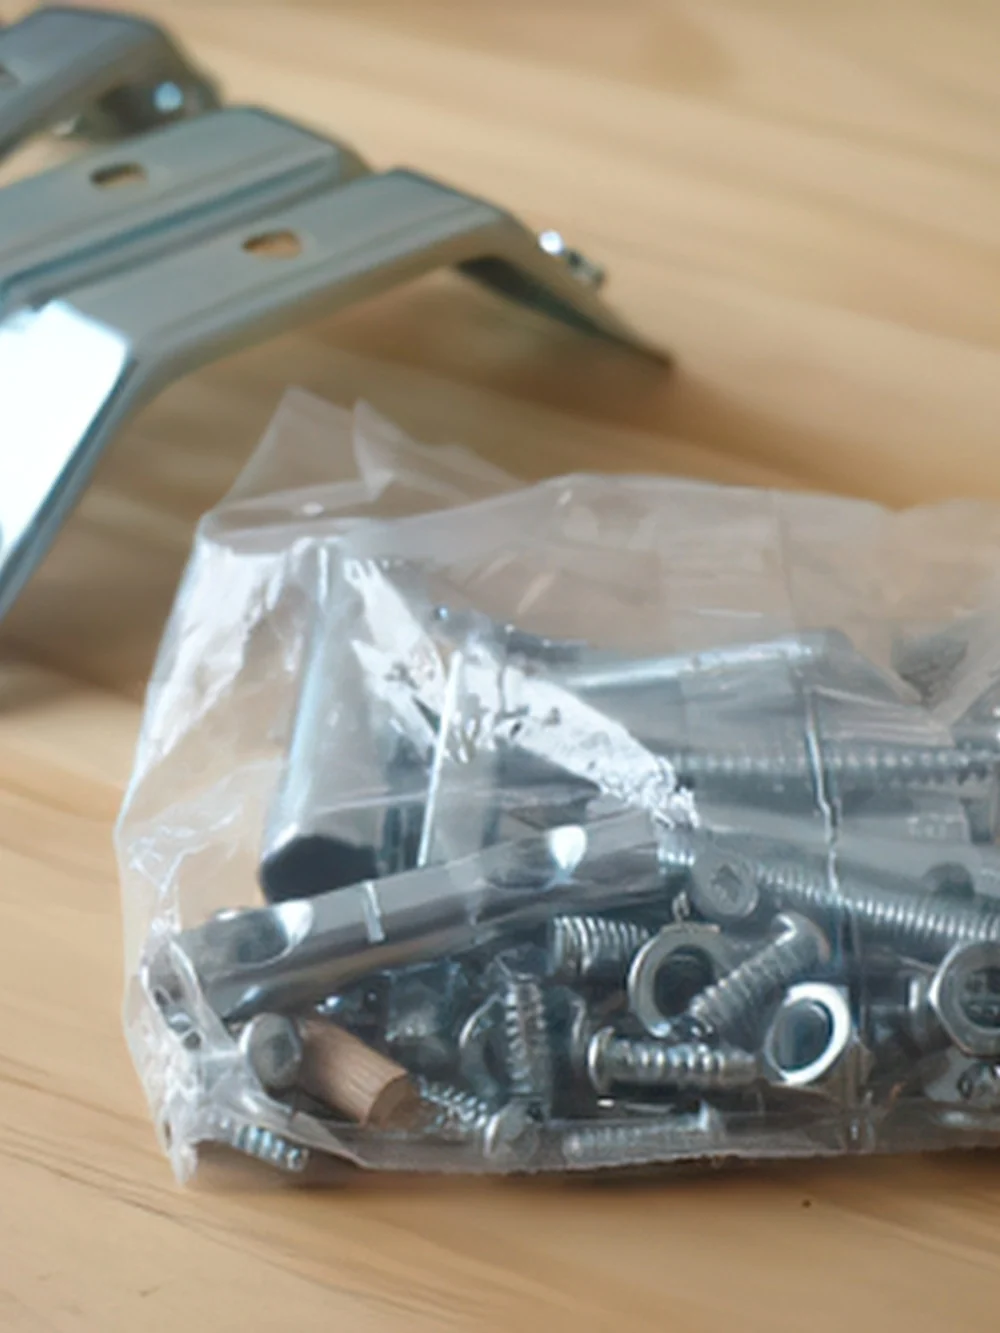
Find the stud first. The drill comes second. / The AAP suggests metal anchors, like L brackets, because plastic can turn brittle.
Why anchor to a stud (stud vs drywall anchor)
A stud is solid wood, so a screw driven into it has something to bite into. That’s why the CPSC’s how-to has you find the stud nearest your furniture, and why the AAP says the wall anchors belong in a stud even if you have to move the dresser to reach one. Spacing helps you hunt: the CPSC notes that in modern homes studs are 16 or 24 inches apart, so once you’ve found one, the next one is likely that far along the wall.
Drywall anchors, the plugs sold for spots with no stud behind them, are a different situation. Neither the CPSC’s installation steps nor the AAP’s tip-over page explains how to hang a furniture anchor on drywall alone, so neither gives a number for how much they hold. If your kit includes them, treat them as plan B. Try every reasonable spot for a stud first, including sliding the piece along the wall. If you truly can’t line one up, follow the kit’s instructions exactly for your wall type.
Is the kit that comes with your dresser strong enough?
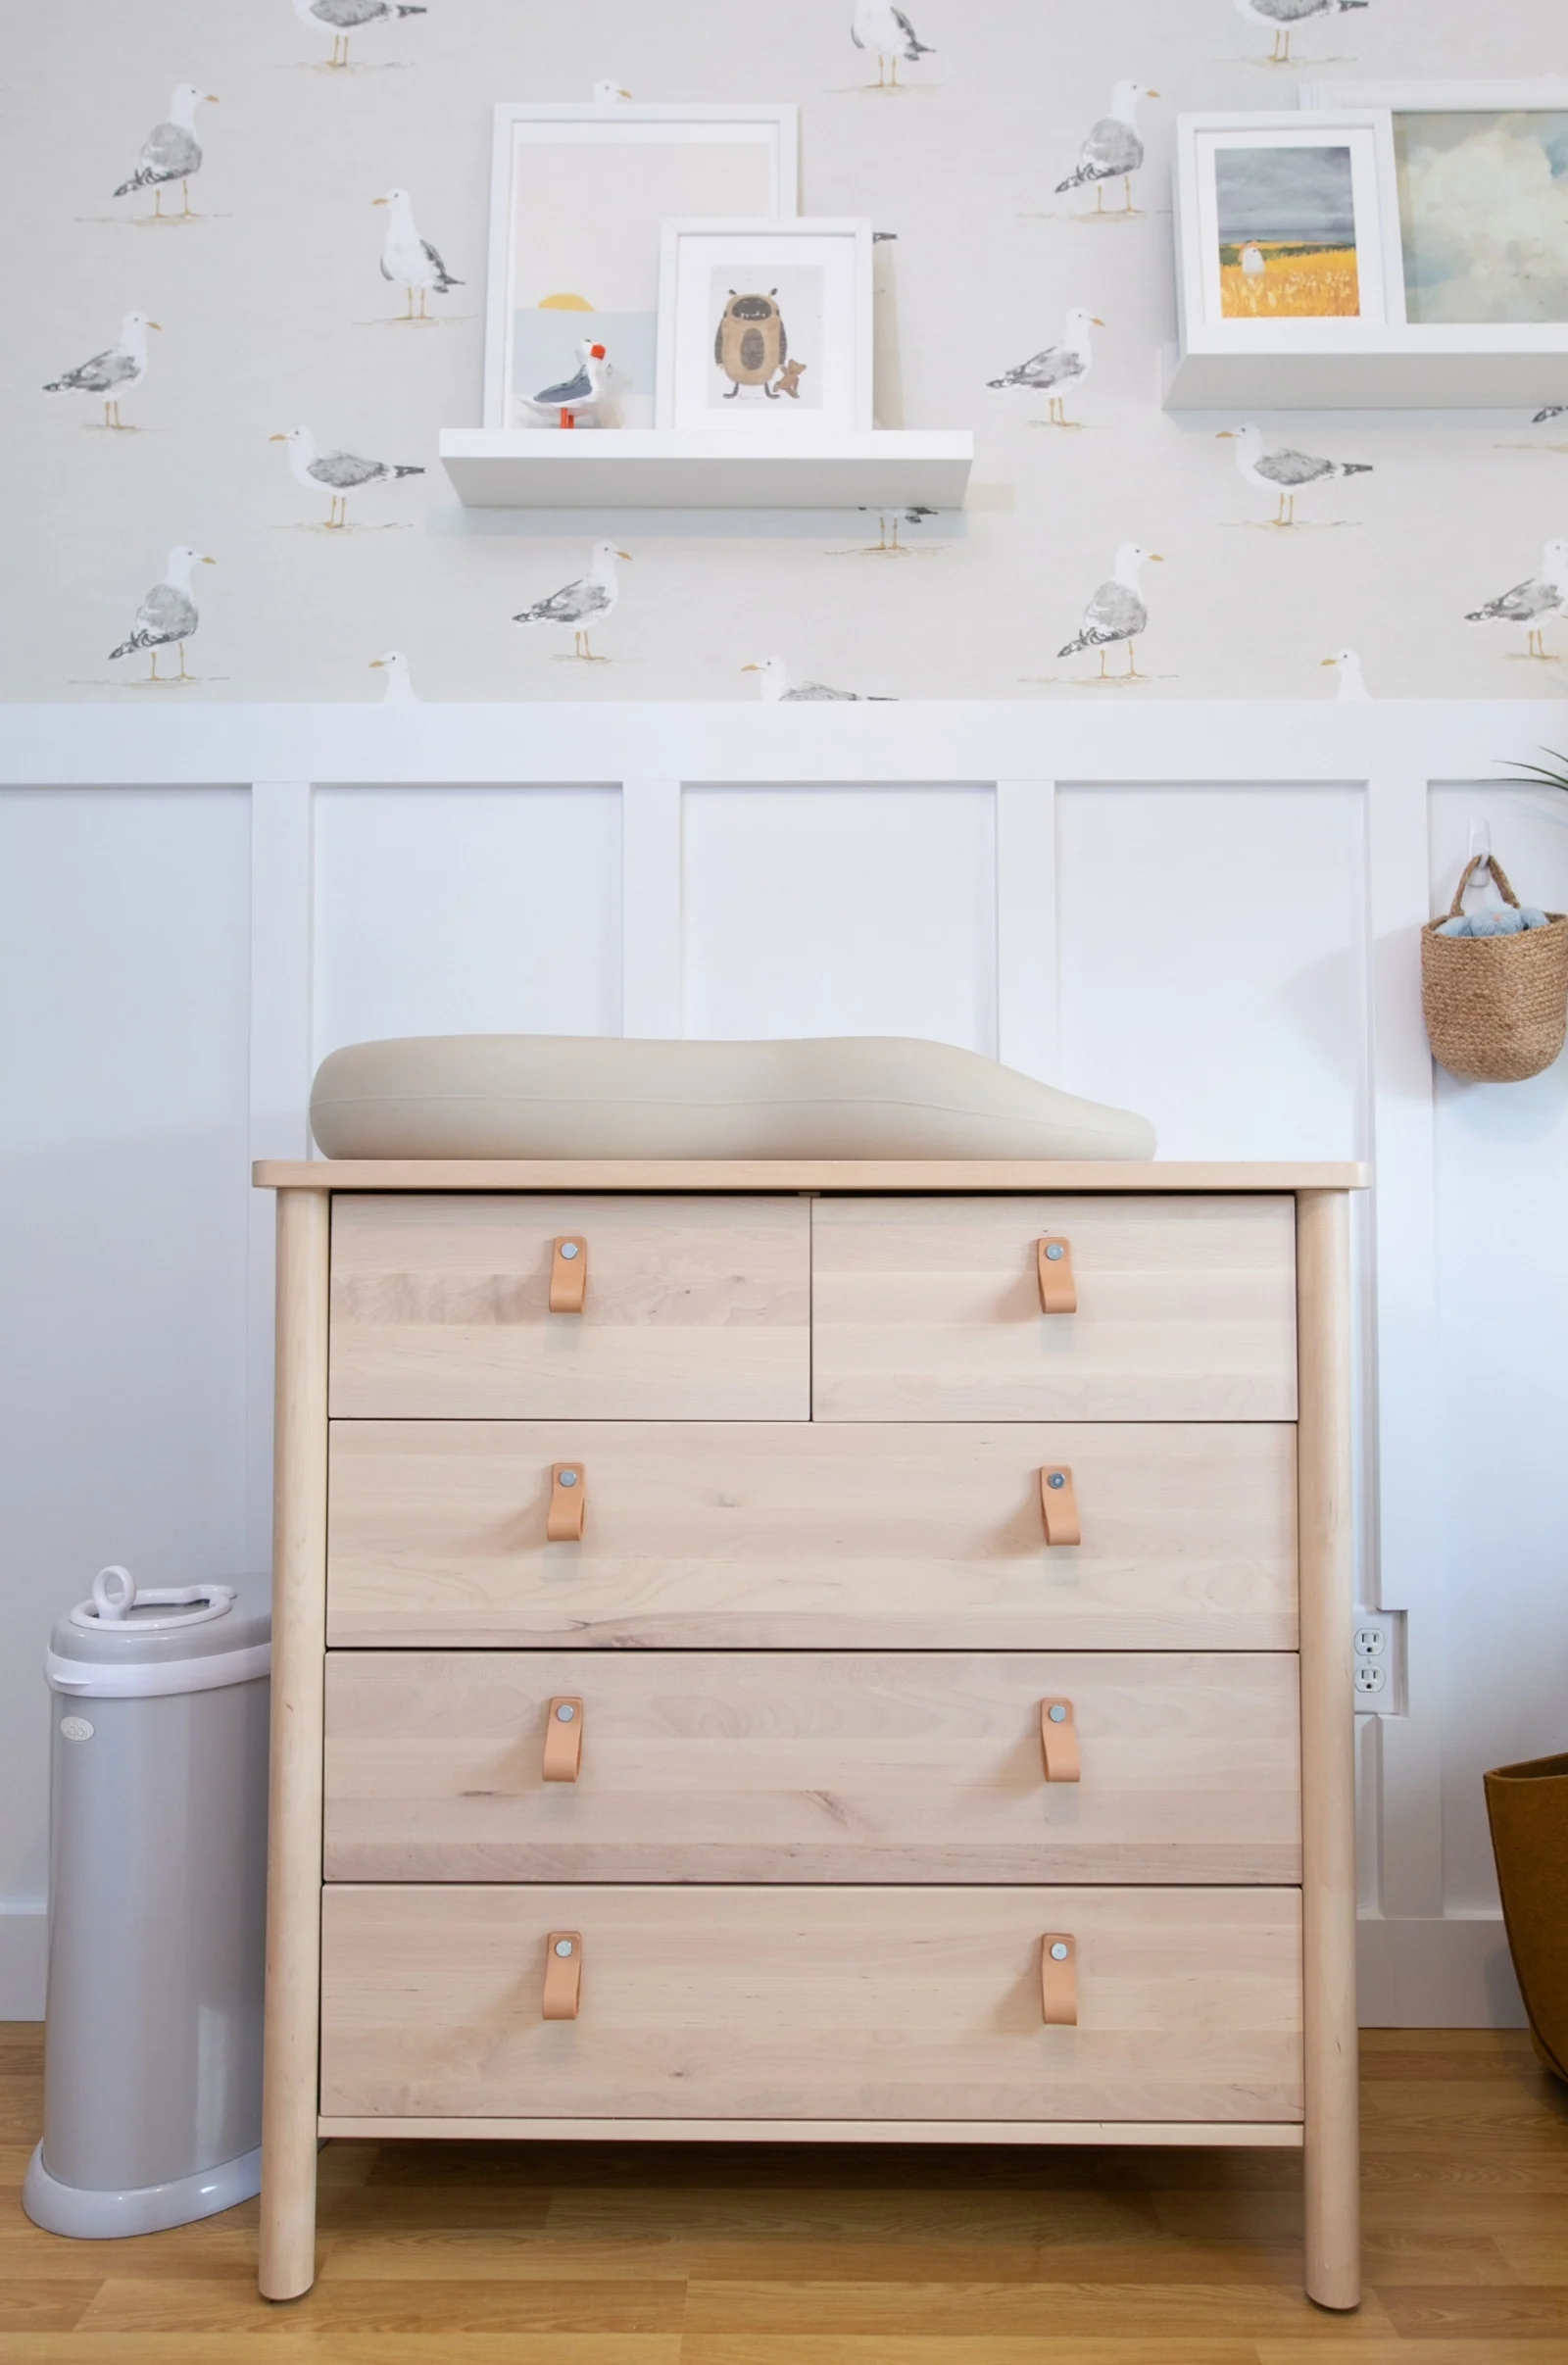
A dresser made since September 2023 has to ship with an anti-tip kit that meets a safety standard called ASTM F3096. Use it, and screw it into a stud with hardware that suits your wall.
That requirement comes from the STURDY law, passed in 2022, and the federal rule written under it, 16 CFR part 1261. According to the CPSC’s guidance on clothing storage units, the rule covers free-standing pieces at least 27 inches tall, weighing at least 30 pounds, with at least 3.2 cubic feet of enclosed storage. In plain terms: chests, chests of drawers, dressers, bureaus and armoires, plus fabric dressers with drawers if they meet the size, weight and storage cutoffs. Covered units have to pass three stability tests and carry warning labels, and the manufacturer or importer has to certify that they meet the rule.
Two gaps are worth knowing about.
The first is scope. The rule doesn’t cover bookcases, entertainment furniture like TV stands, office or dining room furniture, or built-in units. So the low shelf in your playroom and the stand under your TV sit outside it, and this rule doesn’t put an anti-tip kit in their boxes.
The second is the date. The rule applies to units manufactured after September 1, 2023. A hand-me-down dresser from your sister, or the one you bought years before you were expecting, wasn’t necessarily built to it.
 Save
So is the kit in the box strong enough? On a dresser the rule covers, it has to meet a federal standard (ASTM F3096), and it’s the piece the manufacturer expects you to install. What no rule can decide is where it goes into your wall. Put it into a stud, and use screws that match your wall type when it isn’t wood framing. If you’d like to add a metal bracket as well, the AAP’s preference for metal over plastic gives you a good reason.
How to anchor furniture to the wall, step by step
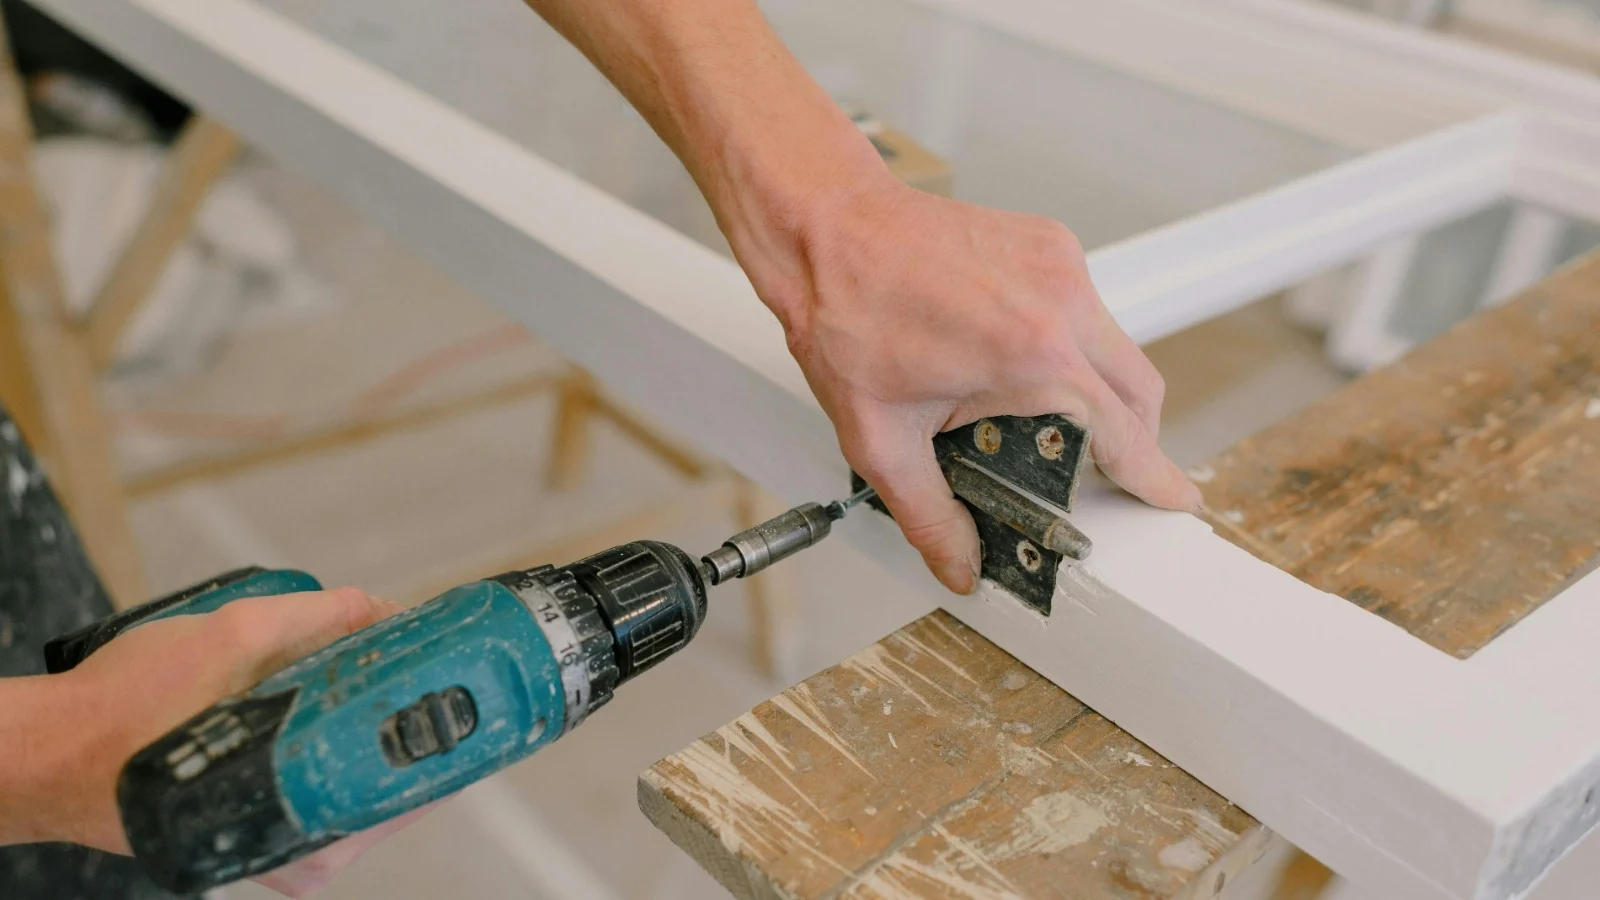
Gather an anchor kit, a drill, a screwdriver and a stud finder. Find the stud nearest the piece, line the furniture up with it, attach the anchor to both, then pull on each end of the anchor to check that it holds.
Save the first one for nap time, when nobody is trying to help you hold the drill. These steps follow the CPSC’s Anchor It! guide, with the AAP’s advice added where it fits.
- Read the kit’s instructions, then gather a drill, a screwdriver and a stud finder.
- Find the stud nearest the piece with the stud finder.
- Line the furniture up with it, sliding it over if needed.
- Attach the anchor to the furniture and the wall. Heavier pieces need more, says the AAP.
- On brick, use masonry bits and screws on the brick face, or call a contractor.
- Check both ends. Pull on the anchor at the wall, then at the furniture. If it shifts, tighten the screws a half to full turn, without forcing them, and pull again.
- Load it heavy-low: heavy things in bottom drawers, drawer stops in, toys off the top.
The Anchor It! home page calls this a reality check: tug on the straps to be confident everything is secure. Its how-to puts the goal simply: no slack, and nothing moves. It’s the step that tells you the other six worked.

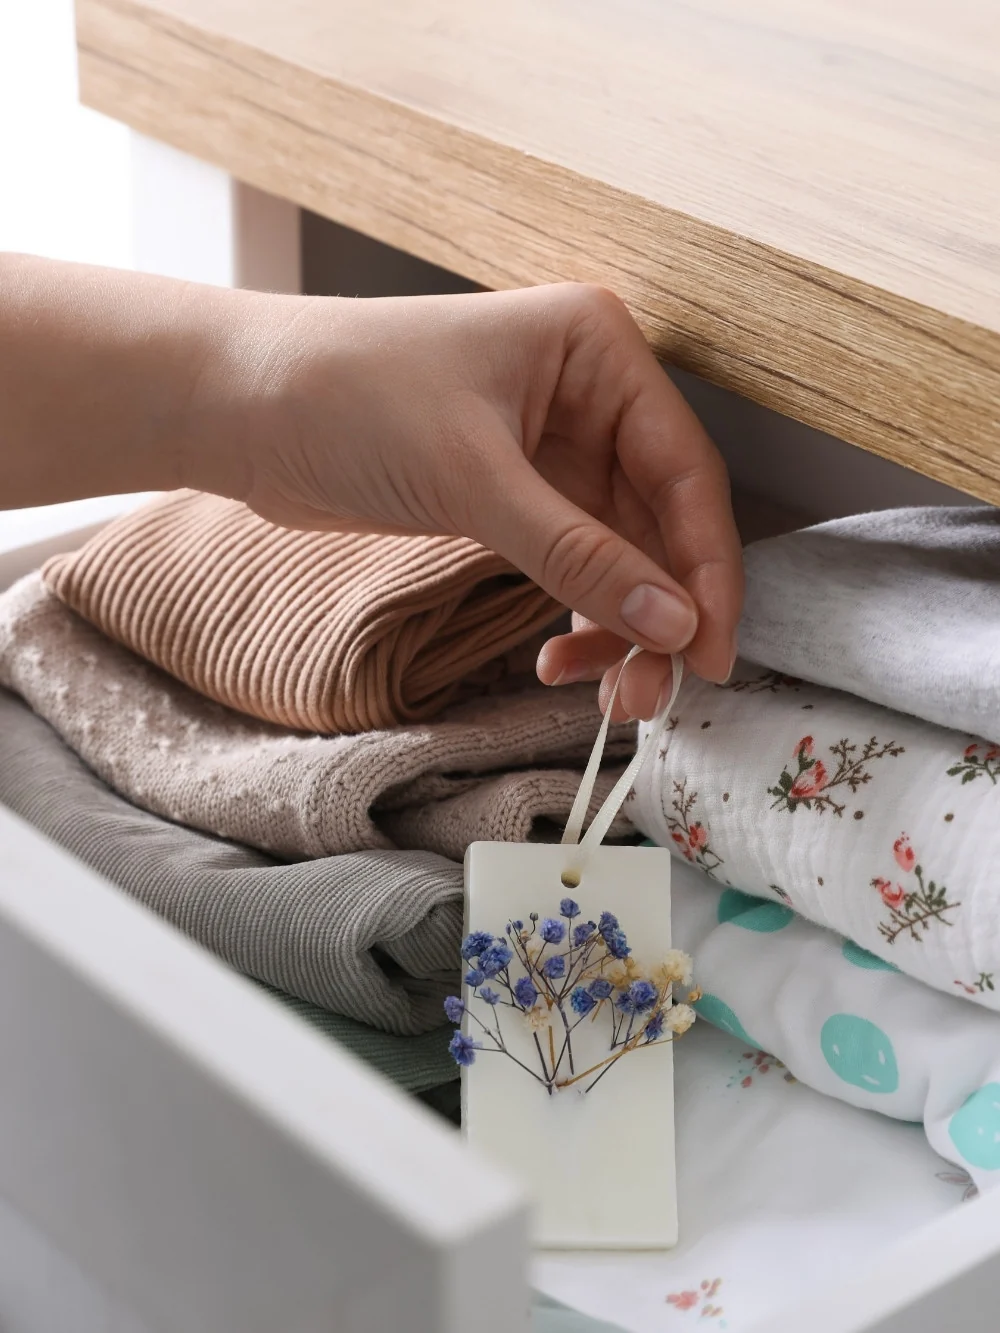
Pencil a mark on the stud, then drill. / Heavy things low, light things high, in every dresser.
Anchor every piece of furniture with drawers, doors or shelves, the short ones included, and never set a TV on top of a dresser, especially in a child’s room.
After you install each anchor, pull on it at both ends, the wall end and the furniture end. If there’s slack or anything shifts, fix it before your child is back in the room.
Once the dresser is done, the rest of the house starts to look different. You notice the bookcase in the hallway, the mirror leaning against the closet door, the TV stand nobody has thought about since you moved in. Working through all of it, one piece and one room at a time, is easier when you aren’t keeping the list in your head.
Anchoring a flat-screen TV
Flat-screen TVs need anchoring too. The AAP says to mount or anchor even slim flat-screens and never to set a TV on top of a dresser, especially in a child’s room or playroom.
It’s easy to look at a thin TV and assume it’s too light to matter. The AAP disagrees, and the Anchor It! tool list even names a furniture/TV anchoring kit.
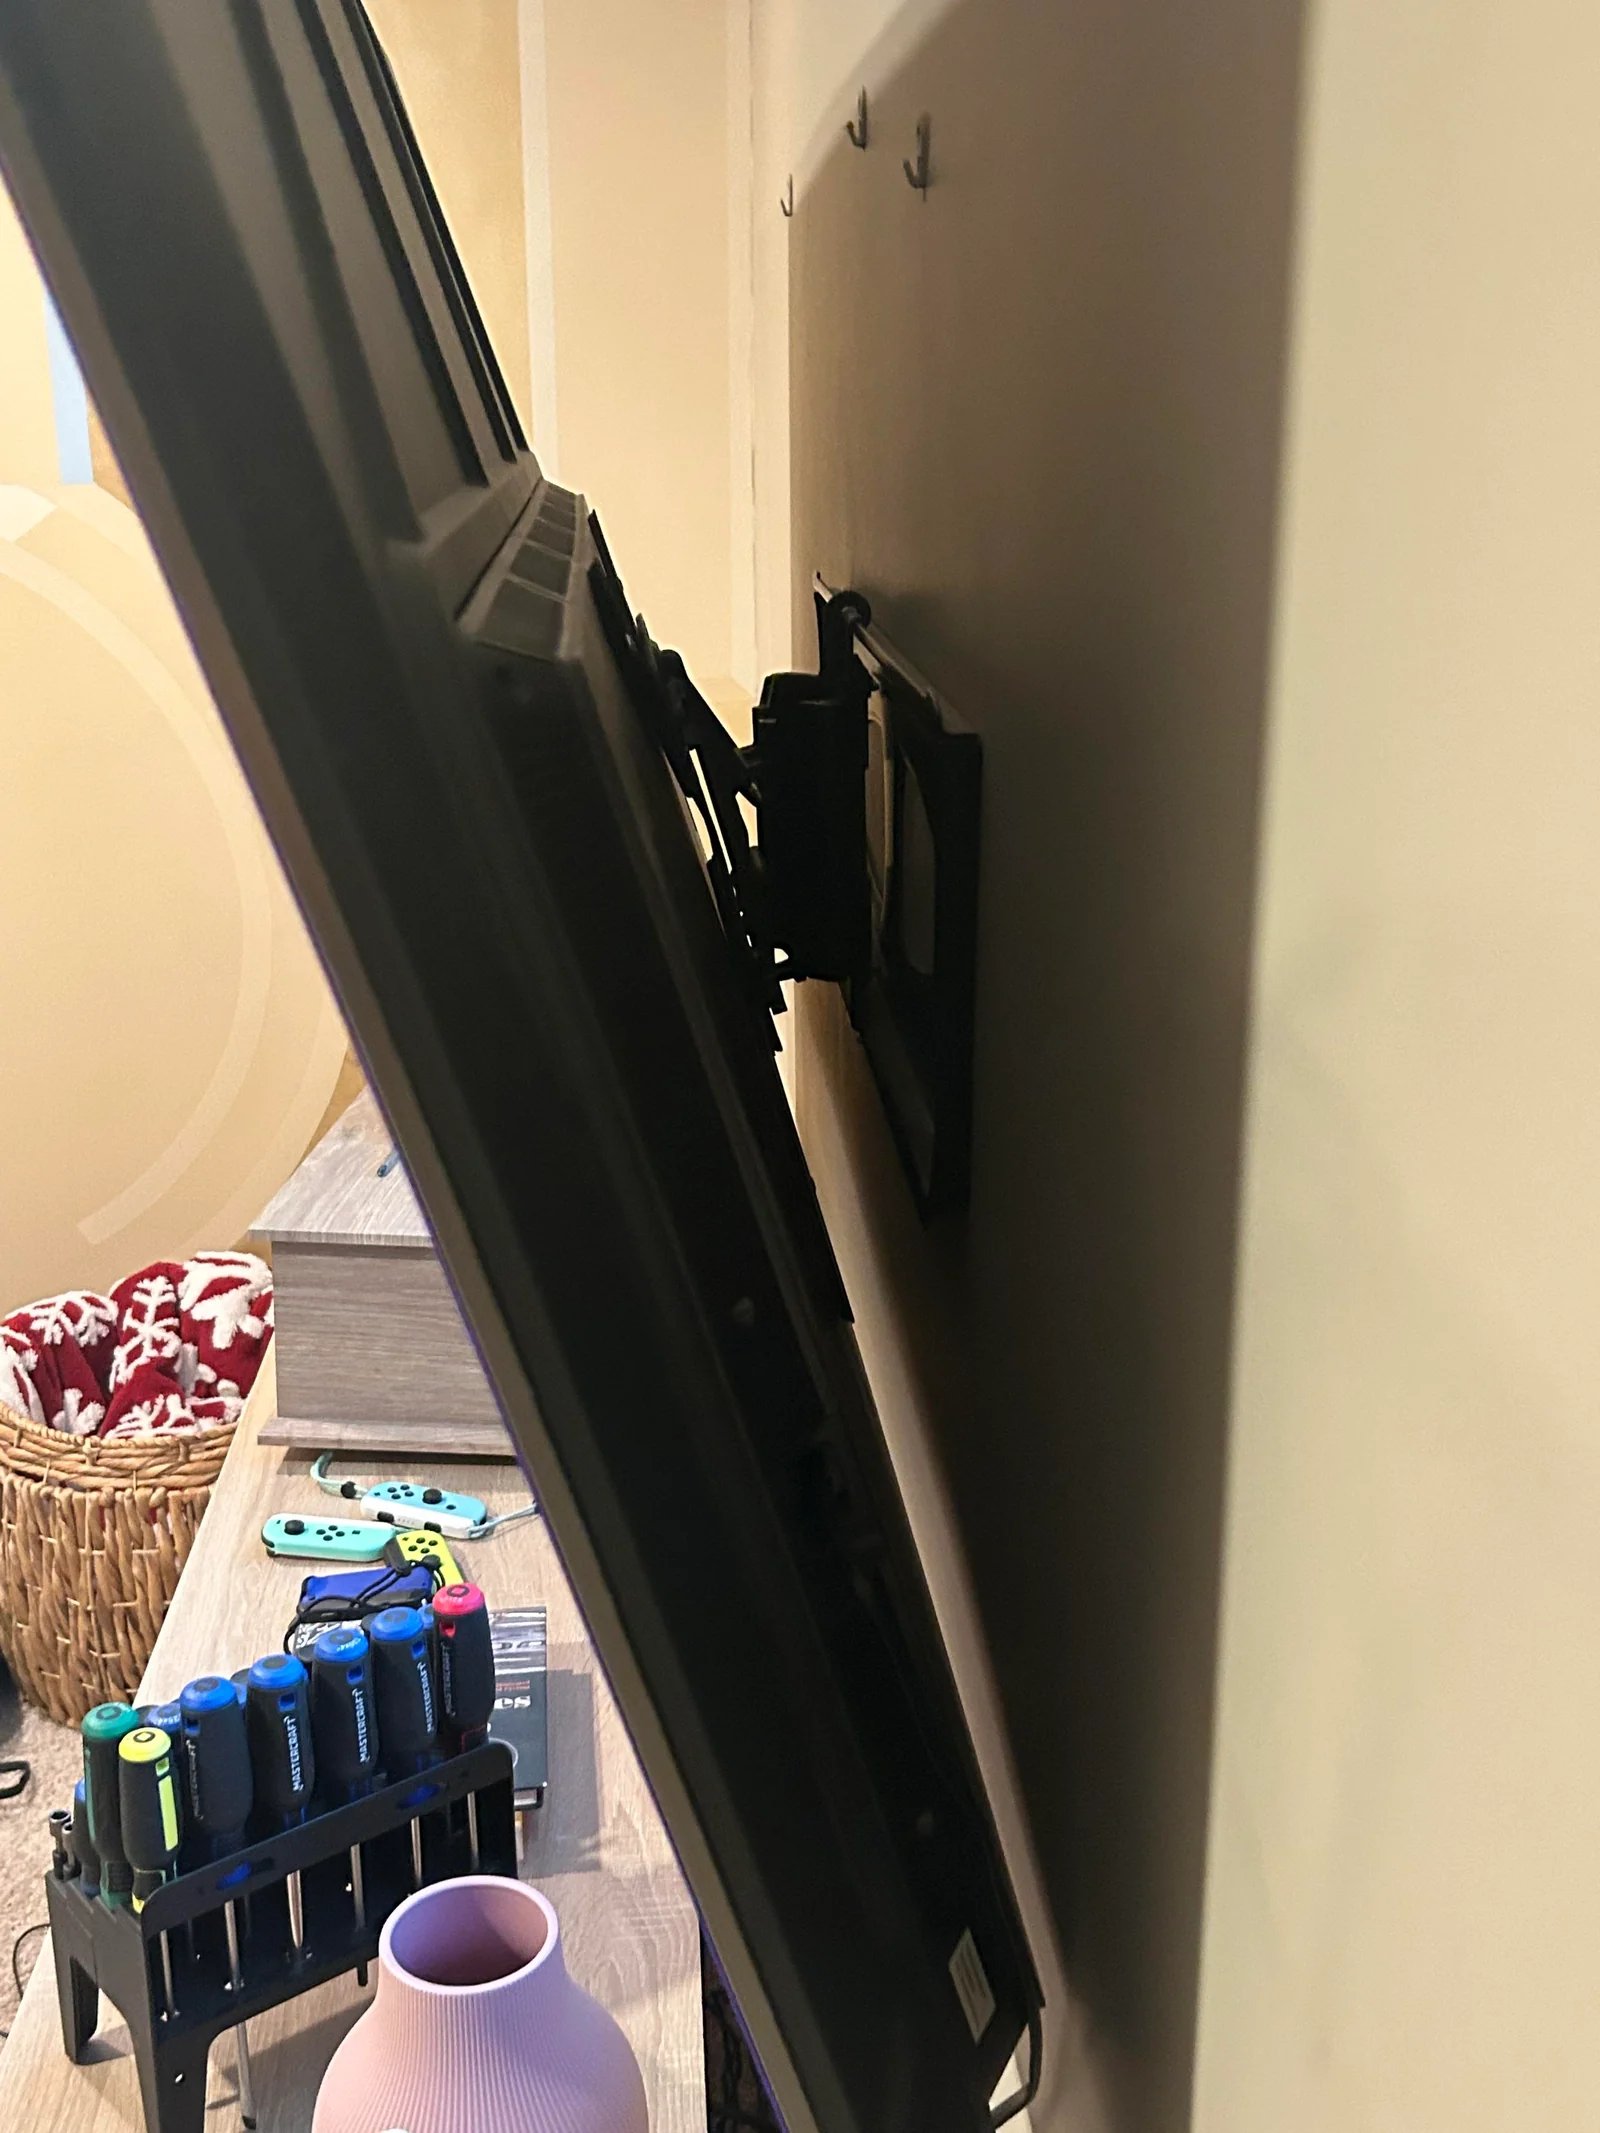
The TV was the hardest piece to anchor in our house. It’s a big flat-screen in the living room, and a corner bracket wouldn’t work on it, so we bought a separate strap kit: one end bolts into the VESA holes on the back of the TV (the threaded holes a wall mount screws into), and the other end goes into a wood stud, to keep Will from pulling it over if he climbs.
 Save
If your TV sits on a stand, the stand counts as furniture. When it has drawers, doors or shelves, it’s on the CPSC’s anchor-it list along with everything else. And since TV stands fall outside the dresser rule, don’t count on an anti-tip kit in that box. Keep the remotes and the toddler’s favorite toys off the top of it, too.
Can you anchor furniture in a rental?
Renting doesn’t take anchoring off the table. The CPSC’s Anchor It! page tells renters that covering anchor holes when you move “won’t be a problem,” and if your lease bans holes, talk to your landlord first.
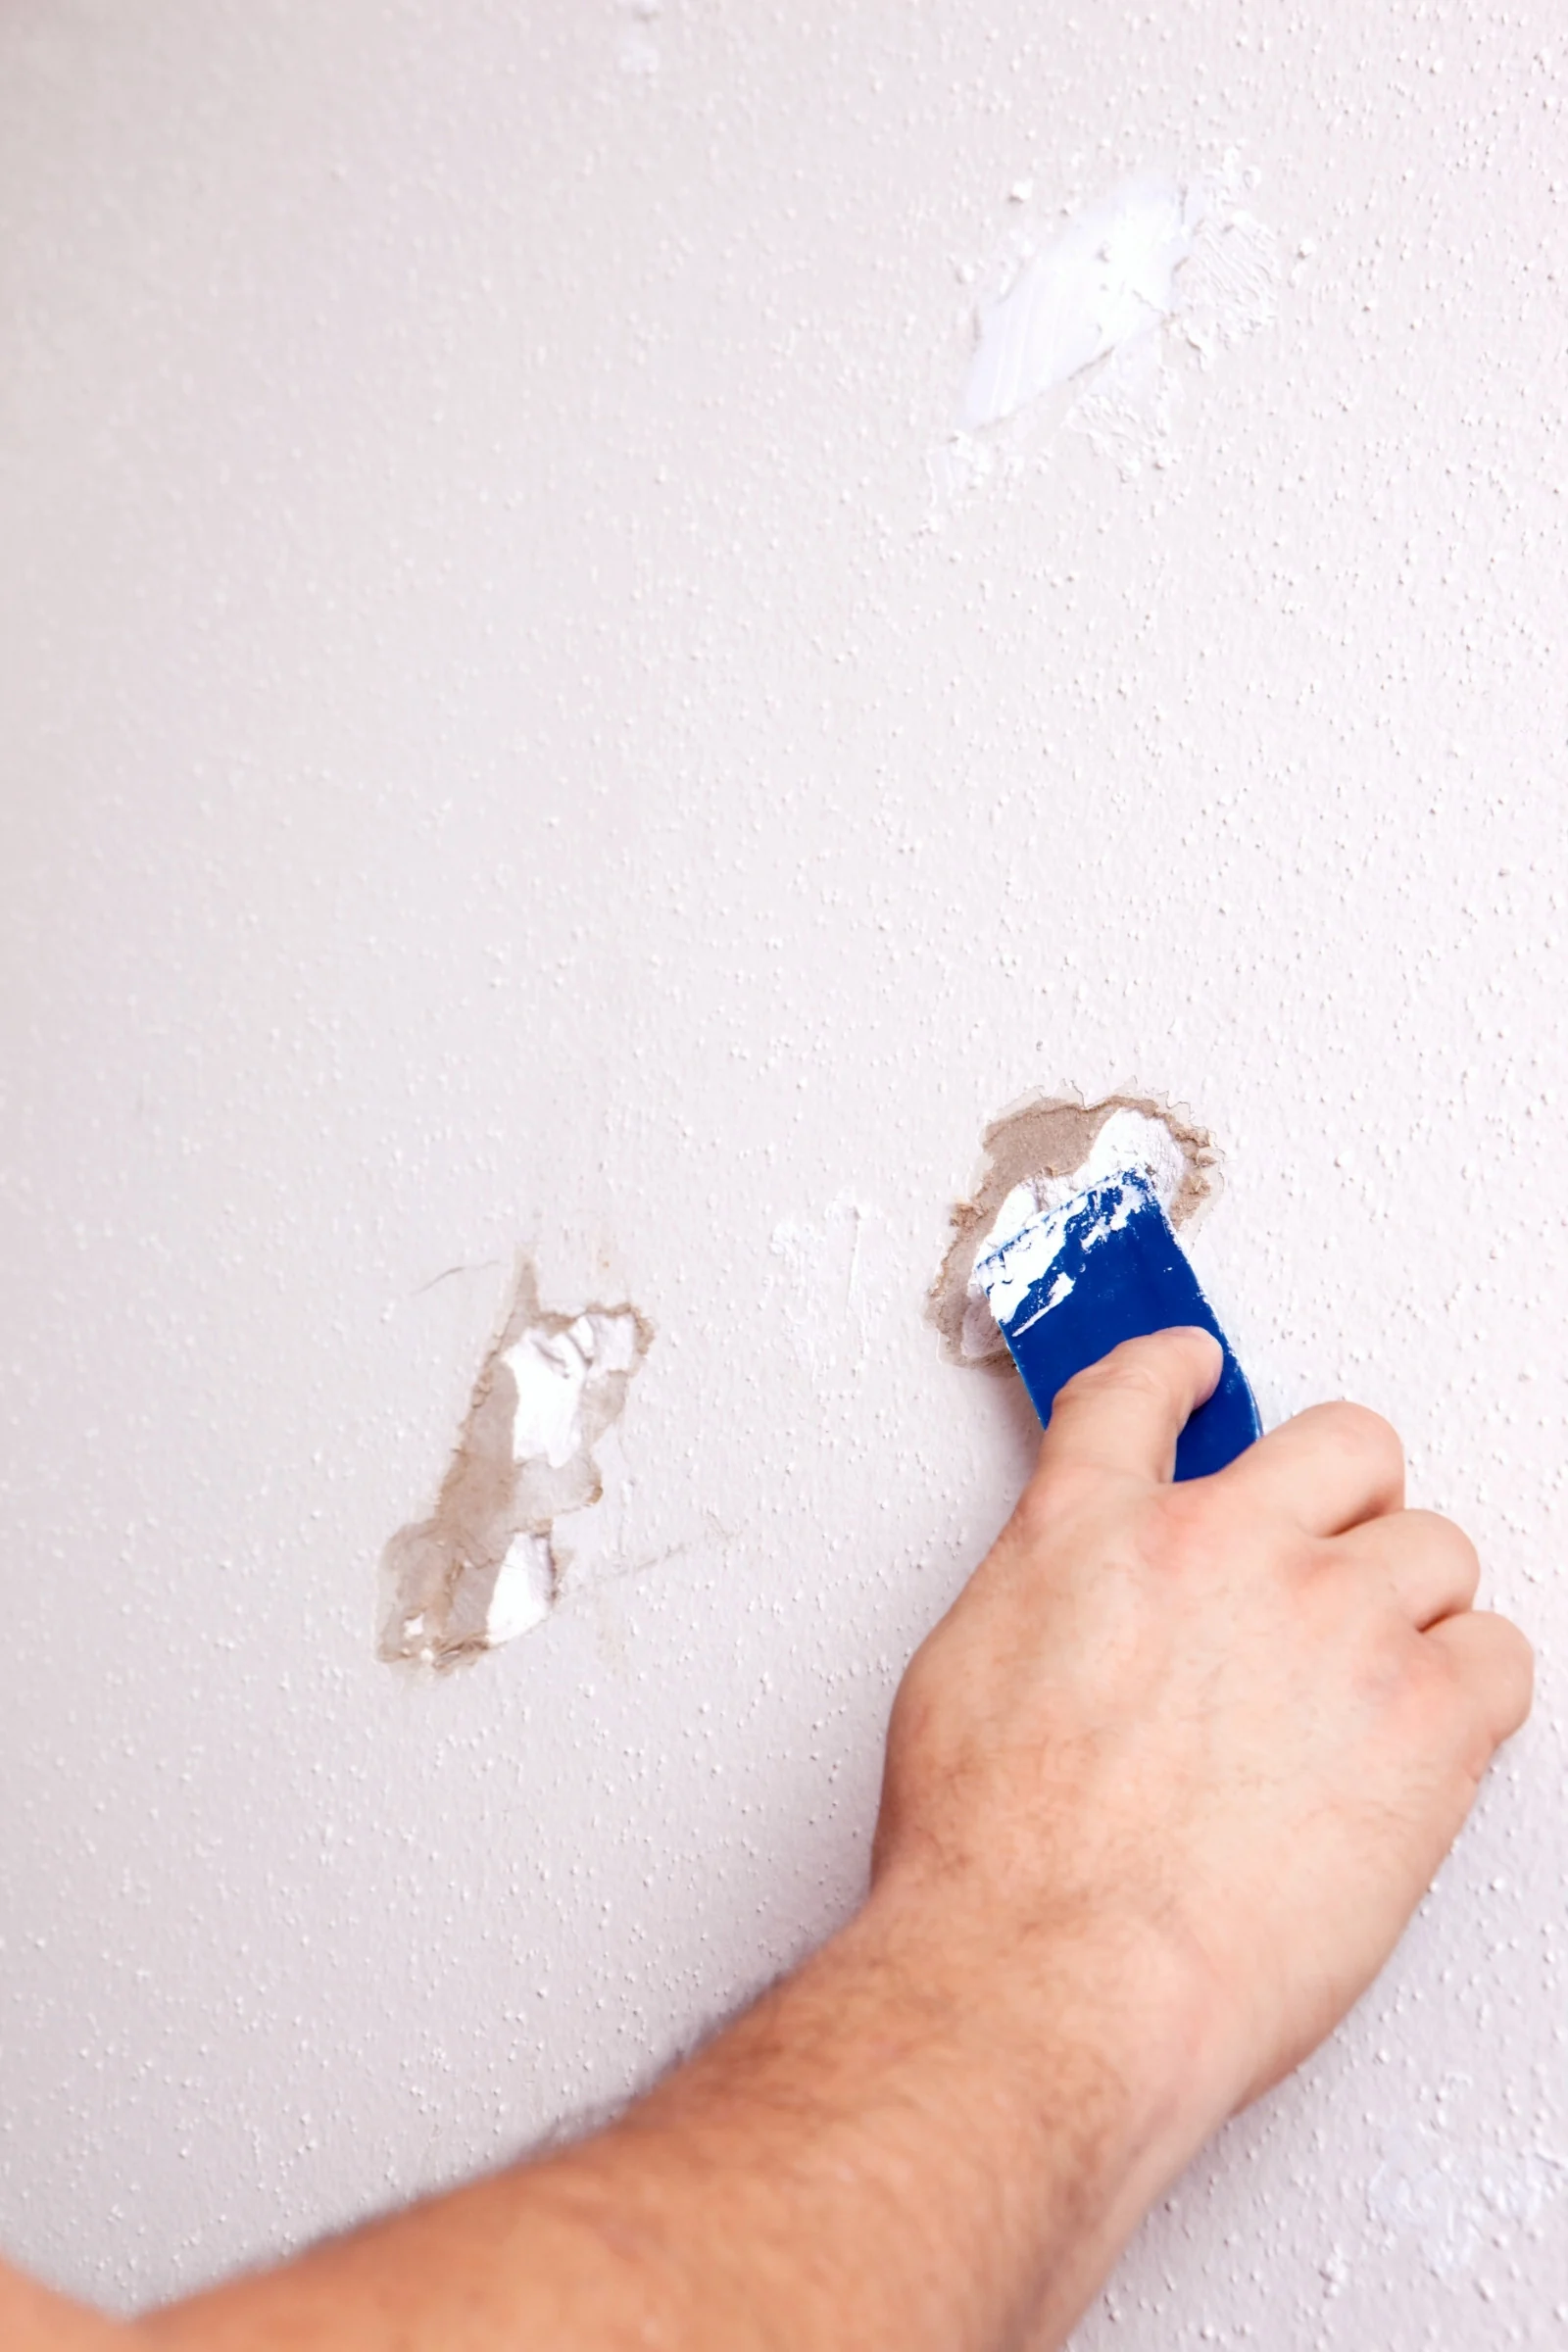
If you rent, you’ve probably already pictured the move-out walkthrough and your security deposit. Anchor It! speaks to that directly: moving, renting or redecorating, the holes from your anchors can be covered, and the page links to tips for filling wall holes even if you’ve never done it before.
The harder case is a lease that says no holes at all. Kimberly Amato founded Meghan’s Hope. Her daughter Meghan died in a dresser tip-over in 2004. In a parent essay on the AAP’s tip-over page, she writes that if putting holes in the walls violates your rental agreement, you should talk to your landlord and explain why anchoring furniture and TVs matters for your child.
“Holes in furniture and in walls can be fixed.”
Kimberly Amatofounder of Meghan’s Hope, on HealthyChildren.org (2021)
What about anchors that don’t need a drill? The CPSC’s and AAP’s tip-over pages don’t cover them. Anchors that screw into a stud are what the CPSC’s instructions describe, so that’s the conversation worth having with your landlord.
 Save
Does IKEA furniture come with wall anchors?
IKEA says to use the tip-over restraint provided with the product, plus the right hardware for your wall type. It also offers a free wall anchoring kit for IKEA chests and dressers through an online request.
IKEA’s U.S. safety page says the best way to help prevent furniture tip-over accidents is to anchor furniture to the wall. It asks you to pair the restraint that comes with the product with the right hardware for your wall, which is the same stud-or-brick question from Table 2. The page doesn’t promise that every item includes a restraint, so check the box or the assembly instructions for yours. For chests and dressers, IKEA also offers a free wall anchoring kit through an online request on that page.
If you’ve owned a MALM chest for a while, you may remember the news from July 2015. The CPSC and IKEA announced a free repair program for MALM 3- and 4-drawer chests, two styles of MALM 6-drawer chests, and other IKEA chests and dressers, after IKEA received reports of two children who died when MALM chests tipped over on them. The kit included replacement tip-over restraints plus complete wall anchoring hardware, instructions and warning labels. The MALM chests in that program had been sold starting in 2002.
 Save
An older IKEA chest or dresser that never got anchored can still be anchored the same way as anything else in this guide: the restraint, the right screws for your wall, a stud, and a pull on both ends at the end. When the dressers and the TV are done, the room-by-room babyproofing checklist picks up the rest of the house: outlets, cords, cabinets and blinds. That’s a lot of hardware for a few weekends, and it’s easy to lose track of which rooms you’ve finished.
Frequently Asked Questions
How do you anchor furniture to a wall without drilling?
Anchoring furniture to a wall without drilling isn’t something the CPSC’s Anchor It! steps cover; the method they describe screws into a stud. If you rent and drilling is the worry, the same page says anchor holes can be covered when you move, and Kimberly Amato suggests talking to your landlord. Meanwhile, keep heavy things low and toys off the top.
When should you use furniture anchors?
Use furniture anchors on every piece with drawers, doors or shelves, plus TVs and mirrors, and the sooner the better. The AAP points out that you can’t always stop a young child from climbing, so the furniture needs to be stable before they try. To see where anchoring fits among the other jobs, start with which babyproofing jobs come first.
Conclusion
You don’t have to anchor the whole house before dinner. Pick the piece your toddler climbs most, which is probably the dresser in their room, and do that one first: find the stud, attach the kit, check both ends, then move the heavy sweaters down to the bottom drawer. Next weekend, the bookcase. The weekend after that, the TV. Each piece you finish is one less thing to hover over while they practice being brave.
A toddler who climbs everything is doing exactly what toddlers do. You’re the one making the house ready for it, and that counts for a lot.
Miri
Fewer toys, deeper play.
Further Reading & Resources
See all 8 sources
- Anchoring steps: Anchor It! and How to Install a Kit (U.S. Consumer Product Safety Commission, CPSC)
- Tip-over numbers: Product Instability or Tip-Over Injuries and Fatalities Associated with Televisions, Furniture, and Appliances: 2023 Report (CPSC, February 2024)
- Dresser rules and IKEA history: Clothing Storage Units · IKEA Offers Free Wall Anchoring Repair Kit for Chests and Dressers Due to Tip-over Hazard After Two Children Died (CPSC, July 2015)
- Pediatric advice: Preventing Furniture and TV Tip-Overs (American Academy of Pediatrics, AAP, and Meghan’s Hope, updated 2021)
- Brand guidance: Creating Safer Homes Together (IKEA U.S.)
- Real parents: What Baby Proofing Is Necessary? (The Bump forums, 2014)